Embark on the Perfect Pear Canning Journey
Immerse yourself in the art of pear preservation and experience the delight of savoring the fruit’s sweetness all year. Not only does canning pear capture the essence of summer during the chillier months, it also instills a sense of accomplishment from creating something exquisite and tantalizing from scratch.
Choose the Ideal Pears for Canning
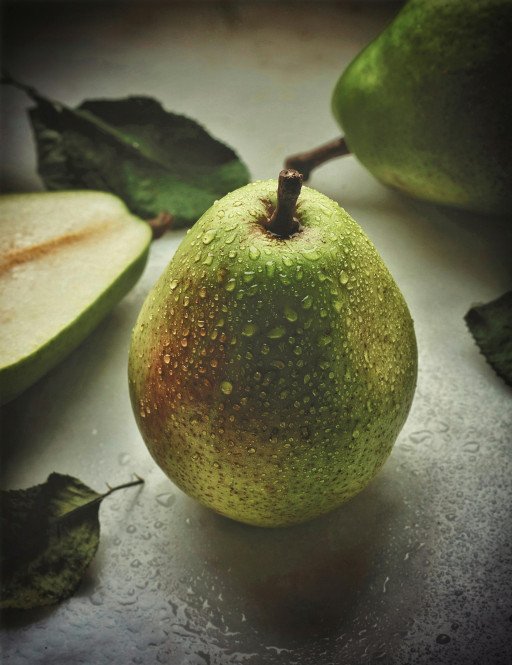
Selecting the proper pears is paramount for canning success. Opt for just-ripe, firm pears to avoid mushiness post-canning. Favorable varieties include Bartlett, Bosc, and Anjou, which maintain their integrity when preserved. Aim for flawless, unblemished fruits to ensure top-tier results.
Prep Steps for Your Pears
Commence your canning with a thorough cleaning, peeling, coring, and slicing of your pears. To keep them from browning, bathe the slices in lemon water.
The Sweetness Spectrum: Choosing a Canning Syrup
Your syrup choice is crucial in canning. A light syrup enhances the pears’ natural taste, while a heavy syrup indulges a sweeter palate. For a healthier route, consider apple or white grape juice as alternatives.
Jar Sterilization: The Foundation of Safe Canning
Safety and longevity in canning start with sterilized jars. Sanitize them through boiling or a dishwasher’s sterilizing cycle. This step also applies to your sealing lids and rings.
Jar Filling Techniques
With sterilized jars and prepped pears, tightly pack the slices into the jars, taking care not to crush them. Keep a half-inch headspace for expansion purposes.
Syrup Addition and Air Bubble Elimination
Cover the pears with your chosen syrup, respecting the headspace guideline. Gently stir with a non-metallic utensil to dissipate air pockets.
The Canning Process for Pears
Seal the deal by cleaning the jar rims, securing the lids, and processing in a boiling water canner or pressure canner based on your gear. Fruits like pears are usually well-suited for boiling water canning.
The Boiling Water Technique
Immerse your jars in a canner of boiling water, adhering to recommended times according to altitude and jar size.
Utilizing a Pressure Canner
For pressure canning, abide by the manufacturer’s directives for time and pressure to guarantee safety.
Cooling and Storing Processed Pears
Post-processing, allow jars a rest of 12 to 24 hours. Confirm the seals before labeling and storage. Refrigerate any jars that failed to seal, consuming them promptly.
Innovation in Pear Canning Recipes
Canning classic pears is fulfilling, but adventurous souls might venture into variations. Infuse your syrup with cinnamon sticks, vanilla beans, or star anise for extra zest.home canning and jam making essential tips.
Alcoholic Enhancements
To gourmet heights ascend by blending brandy or rum into your syrup pre-canning. The resulting sophistication in taste is truly gourmet.
Spice-Infused Pear Cans
Embrace spices such as cloves, ginger, or nutmeg for a warm, spicy twist fitting for cooler seasons.
Culinary Uses for Canned Pears
Once canned, your pears are a versatile delight. Topple them over desserts or contrast them within savory plates for a unique flavor amalgamation. Learn more about canning.
Dessert Innovations with Canned Pears
Transform canned pears into divine desserts like tarts or cakes, with the added bonus of flavorful syrup infusions.
Savory Pairings
Pairs superbly canned pears do with meats like pork, chicken, and game, offering a lovely taste divergence.
Closing Thoughts: The Gratification of Home-Canned Pears
Canning pears goes beyond mere food preservation—it’s a key to culinary imagination. This thorough guide arms you with the knowledge for high-caliber pear canning, ensuring delightful experiences for yourself and your loved ones. With patience and precision, you’ll produce jars brimming with pear perfection to be savored year-round. Patience is truly a virtue in perfect pear canning.